

Unleash Your Inner Designer: DIY Canvas Tote Bag Ideas for Every Crafter
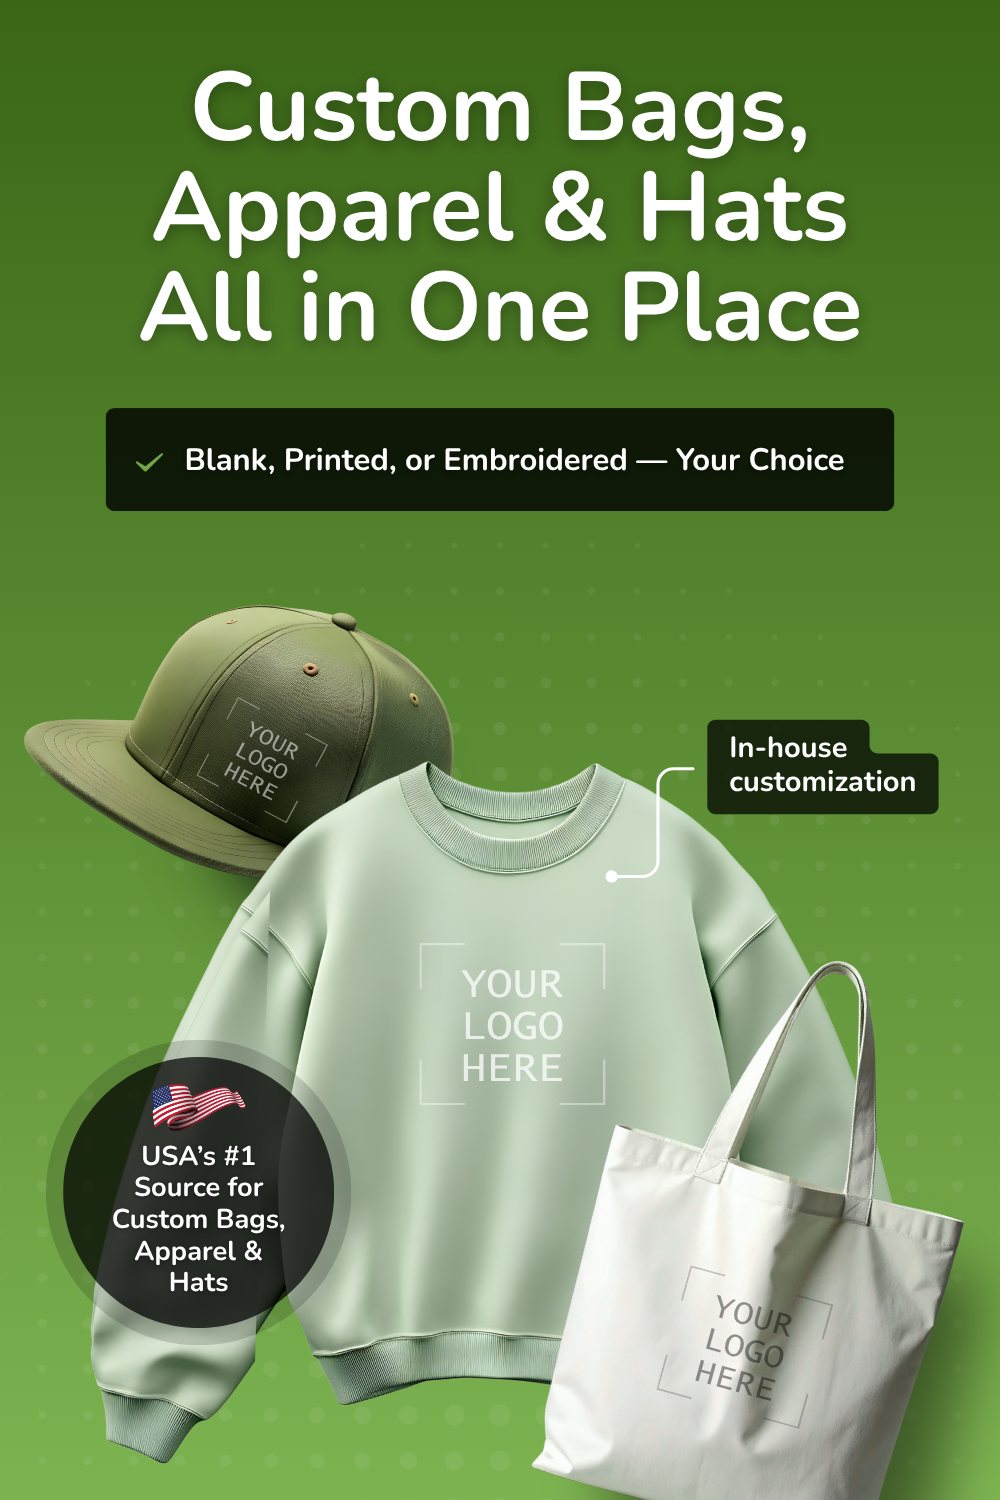
Whether you're shopping for blank bags, premium apparel, stylish hats, bulk quantities, or fully customized printing and embroidery, BagzDepot delivers fast, affordable, and high-quality solutions — trusted by 200,000+ customers nationwide.
Request a Custom Quote →
Canvas tote bags are the ultimate blank canvas (pun intended!) for creativity. They're stylish, sturdy, and endlessly customizable. Whether you're a sewing newbie or a seasoned stitcher, there's a DIY tote bag project out there waiting to be made.
For the Sewing Novice:
Feeling a little intimidated by sewing machines and complicated patterns? No worries! Dive into the world of tote bags with these beginner-friendly approaches:
- The Super Simple Tote:
- Materials: Canvas fabric (cut to two panels of desired size, with added seam allowance), sewing machine, thread, scissors, straight edge ruler.
- Steps:
- Decide on the size of your tote bag. A common size is 16 inches tall by 16 inches wide. To account for seams, add an extra half-inch to each dimension (17 inches by 17 inches).
- Cut two rectangular pieces of canvas fabric according to your measurements.
- Place the two fabric pieces right sides together (printed sides facing each other). Pin the edges together to secure them.
- Sew along the long sides and bottom of the fabric, leaving the top open. Use a straight stitch and a half-inch seam allowance. Backstitch at the beginning and end of your seam for reinforcement.
- Clip the corners diagonally at a 45-degree angle to reduce bulk. Turn the tote bag right side out through the opening.
- Fold down the raw edge at the top of the tote bag to create a clean hem. Iron the folded hem in place.
- Sew a straight stitch close to the folded edge to secure the hem.
The No-Sew Tote:
- Materials: Canvas fabric (cut to two panels of desired size), fabric glue or fusible bonding tape, scissors, straight edge ruler.
- Steps:
- Decide on the size of your tote bag and cut two rectangular pieces of canvas fabric according to your measurements.
- Place the two fabric pieces right sides together (printed sides facing each other).
- Following the manufacturer's instructions, apply fabric glue or fusible bonding tape along the long sides and bottom of the fabric, creating a seal.
- Clip the corners diagonally at a 45-degree angle to reduce bulk.
- Fold down the raw edge at the top of the tote bag to create a clean hem. Iron the folded hem in place.
- Apply fabric glue or fusible bonding tape along the folded edge to secure the hem.
Spice Up Your Tote:
Once you've mastered the basics, it's time to get creative! Here are some ways to personalize your tote bags and make it a true reflection of your style:
- Dyeing and Stenciling: Fabric stores offer a variety of dyes and stencils to unleash your inner artist. You can explore techniques like marbling, tie-dyeing, or create custom message stencils for a one-of-a-kind tote.
- Embellished Beauties: Get creative with embellishments! Fabric scraps can be transformed into appliques using fabric glue or sewn on for a more secure hold. Buttons and patches can add a touch of whimsy, and embroidery creates a beautiful textured effect.
Upgrade for Functionality:
Tote bags aren't just about style, they're about utility too! Here's how to make yours even more functional:
- Pockets and Compartments:
- Materials: Canvas fabric for the pocket(s), coordinating thread, sewing machine (optional, for more secure pockets).
- Steps:
- Design your pocket. Consider the size and placement you'd like. Cut out the pocket pieces from your canvas fabric.
- If using a sewing machine, sew the pocket pieces together, leaving an opening at the top.
- Attach the pocket to the tote bag body, either by pinning and sewing it in place, or using fabric glue for a no-sew option.
- Reinforced Seams and Straps:
- Materials: Canvas fabric for strap pieces (cut to desired length and width with seam allowance), interfacing (optional, for added stability), strong thread, sewing machine.
- Steps:
- Cut your strap pieces according to your desired length and width. Consider adding interfacing to the strap pieces for extra stability, following the manufacturer's instructions on how to iron it on.
- Sew the two long sides of each strap piece together, right sides facing, creating long tubes. Turn the tubes right side out and iron flat.
- Fold the raw edges of the strap ends inwards to create a clean finish. You can sew a straight stitch across the folded edge to secure it permanently, or use fabric glue for a no-sew option.
- Position the straps on the top edge of the tote bag, evenly spaced and at a comfortable distance apart. Pin them in place.
- Sew the straps to the tote bag body with a strong thread, ensuring the stitches catch both the strap and the tote bag fabric for a secure hold. Backstitch at the beginning and end for reinforcement.
Bonus Inspiration:
- Upcycled Chic: Give old clothes or curtains a new lease on life! Cut out pieces of usable fabric and follow the same steps as creating a tote bag from scratch. You can also use contrasting colored fabrics for the straps or pockets to add a unique touch.
- Totes for Every Occasion: The possibilities are endless! Here are some ideas to get you started:
- Beach Tote: Line your tote bag with waterproof material for added protection from moisture.
- Market Tote: Create separate compartments with dividers to keep your groceries organized.
- Gift Tote: Add a decorative ribbon closure or a fabric flower embellishment for a personalized touch.
With a little creativity and these DIY ideas as your guide, you can create a canvas tote bag that's not only stylish and functional, but also uniquely yours. Happy crafting!
Description
Promotional Bags Tips & Resources
-

How Custom Tote Bags Became a Popular Choice for Brand Promotion
Jun 23, 2026Any company aims to maximize its visibility at the lowest cost possible. Despite spending millions o
Description
-

The Stylish Summer Tote & Travel Bags That Fit Everything Without Ruining Your Outfit
Jun 23, 2026Summer is the season of more — more plans, more beach days, more weekend getaways, more spontaneous
Description
-

Canvas vs. Cotton vs. Non-Woven Bags: Which Is Best for Your Custom Branding Project?
Jun 08, 2026If you're sourcing custom bags for resale, giveaways, or brand merchandise, the first question isn't
Description
- Read more articles