

How to Embroider on Tote Bags & Hats: A Step-by-Step Guide
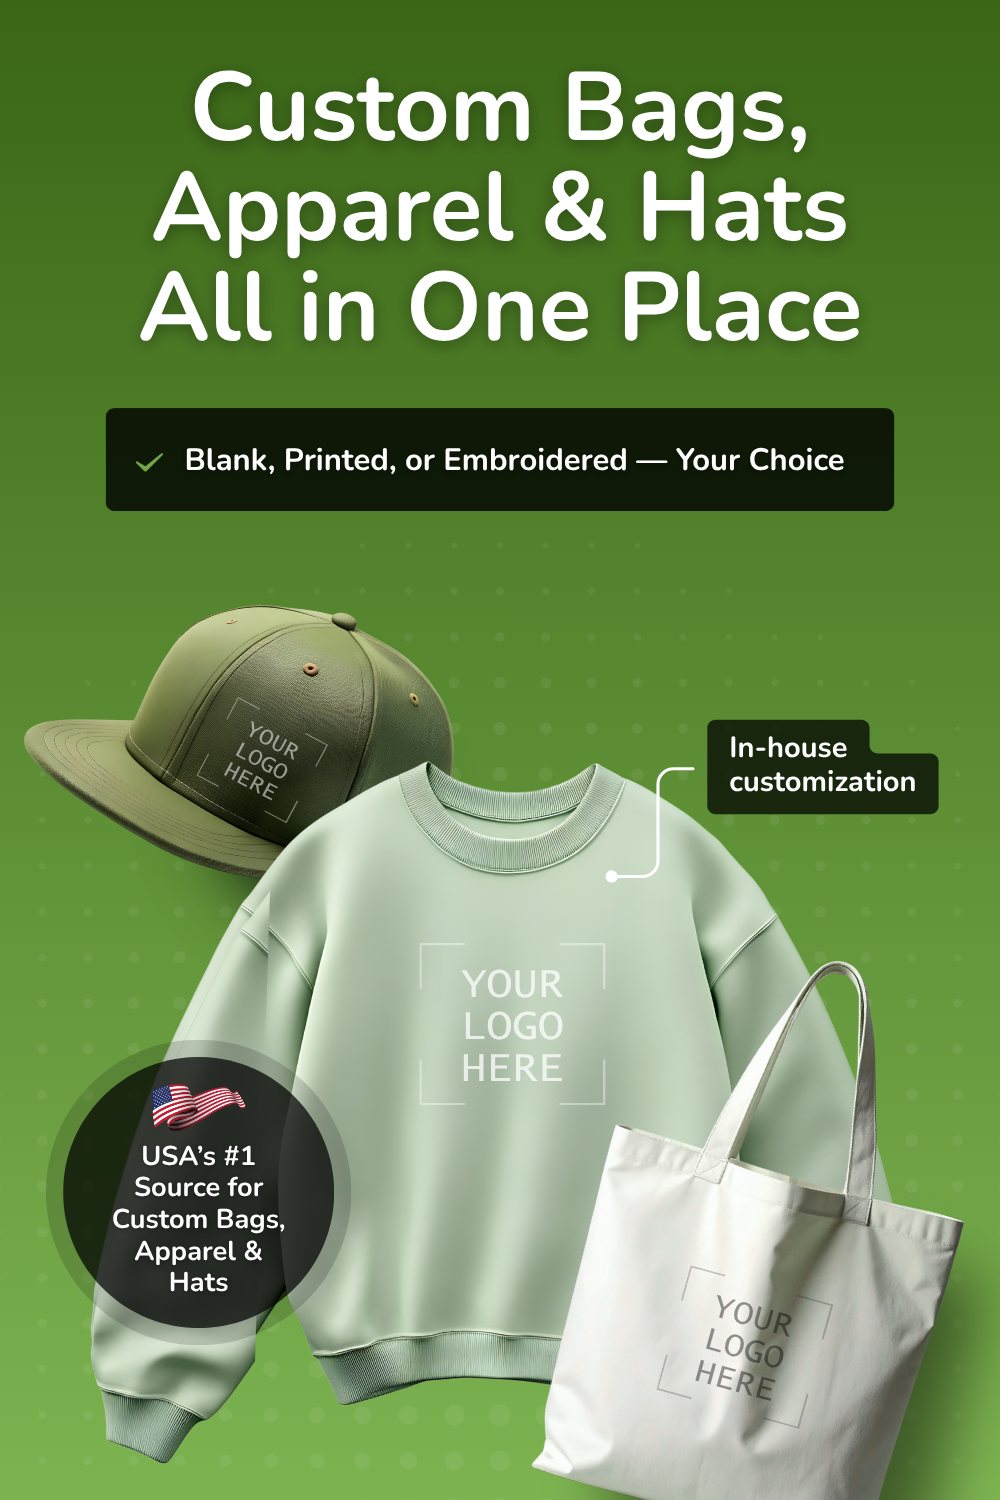
Whether you're shopping for blank bags, premium apparel, stylish hats, bulk quantities, or fully customized printing and embroidery, BagzDepot delivers fast, affordable, and high-quality solutions — trusted by 200,000+ customers nationwide.
Request a Custom Quote →
Custom embroidery is one of the most premium, durable, and eye-catching ways to add logos, names, and designs to tote bags and hats. Whether you're creating personalized gifts, crafting for fun, or producing branded merchandise for your business, embroidery instantly elevates the final product.
In this step-by-step guide, you’ll learn how to embroider on tote bags and hats at home—and when it may be easier (and more cost-effective) to let a professional handle it.
At the end, we’ll also share how BagzDepot can take care of your embroidery needs as your one-stop shop for custom bags, hats, and apparel.
Why Choose Embroidery?
-
Long-lasting durability
-
Premium textured finish
-
Won’t fade or peel like screen printing
-
Perfect for canvas tote bags, cotton hats, beanies, backpacks, duffel bags, and more
-
Great for business branding, events, fundraisers, and custom gifts
PART 1: How to Embroider on Tote Bags (Step by Step)
Canvas tote bags are one of the easiest embroidery projects because the material is thick, stable, and easy to hoop.
What You’ll Need
-
Canvas tote bag (preferably 12–16 oz)
-
Embroidery hoop
-
Stabilizer (tear-away or cut-away)
-
Embroidery floss or machine embroidery thread
-
Needle (hand or machine needle, depending on method)
-
Water-soluble pen or chalk
-
Scissors
Step-by-Step Instructions
1. Choose Your Design
Keep it simple for your first project: initials, names, small icons, or logos.
2. Mark the Placement
Use a washable pen to outline where the design will go.
Popular placements include:
-
Upper center
-
Lower corner
-
Centered on the pocket (if there is one)
3. Add Your Stabilizer
Place stabilizer inside the tote or behind the embroidery area.
This prevents puckering and keeps stitches even.
4. Hoop the Tote Bag
Place the tote bag between your embroidery hoop rings.
Make sure:
-
Fabric is smooth
-
Design area is centered
-
No wrinkles inside the hoop
5. Start Embroidering
For hand embroidery:
Use a backstitch, satin stitch, or chain stitch for clean, bold results.
For machine embroidery:
Make sure the bag lays flat and doesn’t catch on the arm of the machine.
6. Remove the Stabilizer
Tear away excess stabilizer carefully from the back.
Cut-away stabilizer will remain permanently.
7. Clean Up the Design
Remove any pen marks, loose threads, and lint.
That’s it—you’re done!
PART 2: How to Embroider on Hats (Step by Step)
Hats—especially structured caps—are trickier because of their curve and thickness, but totally doable with patience or the right machine.
What You’ll Need
-
Dad hat, baseball cap, trucker hat, or beanie
-
Cap embroidery hoop or hat hoop (for machine embroidery)
-
Tear-away stabilizer
-
Chalk or marking pen
-
Thread
-
Needle
Step-by-Step Instructions
1. Pick Your Hat Type
Structured hats require more stabilization; unstructured hats are easier to embroider.
2. Mark Your Design
Common embroidery locations:
-
Front center
-
Off-center
-
Side of the hat
-
Back above the opening
Use chalk to lightly mark the design area.
3. Add Stabilizer
Slide stabilizer behind the embroidery area.
For curved hats, extra stabilizer helps maintain shape.
4. Hoop the Hat
This is the hardest part!
Make sure the hat:
-
Is pulled tightly on the hoop
-
Has a smooth surface
-
Isn’t wrinkled or sagging
-
Is locked securely in place
5. Start Stitching
Hand embroidery works for simple designs, but machine embroidery is faster and more accurate for logos.
Keep the machine slow at first to avoid misalignment.
6. Clean Up the Back
Remove stabilizer and trim threads.
Your hat is ready to wear!
DIY vs. Professional Embroidery — Which Should You Choose?
| DIY Embroidery | Professional Embroidery at BagzDepot |
|---|---|
| Great for beginners & fun gifts | Perfect for bulk orders & business needs |
| Low cost | High precision stitching |
| Small designs only | Handles detailed logos & larger designs |
| Time-consuming | Fastest turnaround |
| Risk of errors | Guaranteed quality |
If you need:
✔ business branding
✔ staff uniforms
✔ promotional tote bags
✔ hats for events or giveaways
✔ bulk embroidered merch
—it’s almost always cheaper and faster to let a professional handle it.
Let BagzDepot Be Your One-Stop Embroidery Shop
Don’t want to do all the stitching yourself?
You don’t have to!
BagzDepot offers:
✔ Custom embroidery on tote bags, hats, beanies, backpacks & more
✔ Bulk pricing for businesses, events & fundraisers
✔ Fast turnaround times
✔ Huge selection of blank bags, hats, and apparel ready to decorate
✔ Low minimums & wholesale discounts
Whether you’re ordering 10 pieces or 10,000, our team handles everything from start to finish so you get flawless, professional embroidery every time.
Description
Promotional Bags Tips & Resources
-

Why BagzDepot Is Becoming a Top Choice for Wholesale Bag Buyers
Mar 04, 2026Looking for a reliable wholesale bag supplier? BagzDepot is quickly becoming a preferred destination
Description
-
")
How to Choose the Right Printing Method for Your Custom Bags (Screen Print vs DTF vs Embroidery)
Feb 20, 2026When ordering custom tote bags, backpacks, or promotional bags, one of the most important decisions
Description
-

Cotton Bags With Your Logo Printed: The Smart, Eco-Friendly Way to Promote Your Brand
Feb 04, 2026Looking for a practical promo item people actually keep and reuse? Cotton bags with logo printing a
Description
- Read more articles