

DIY ARTS AND CRAFTS PROJECT WITH CANVAS TOTE BAGS
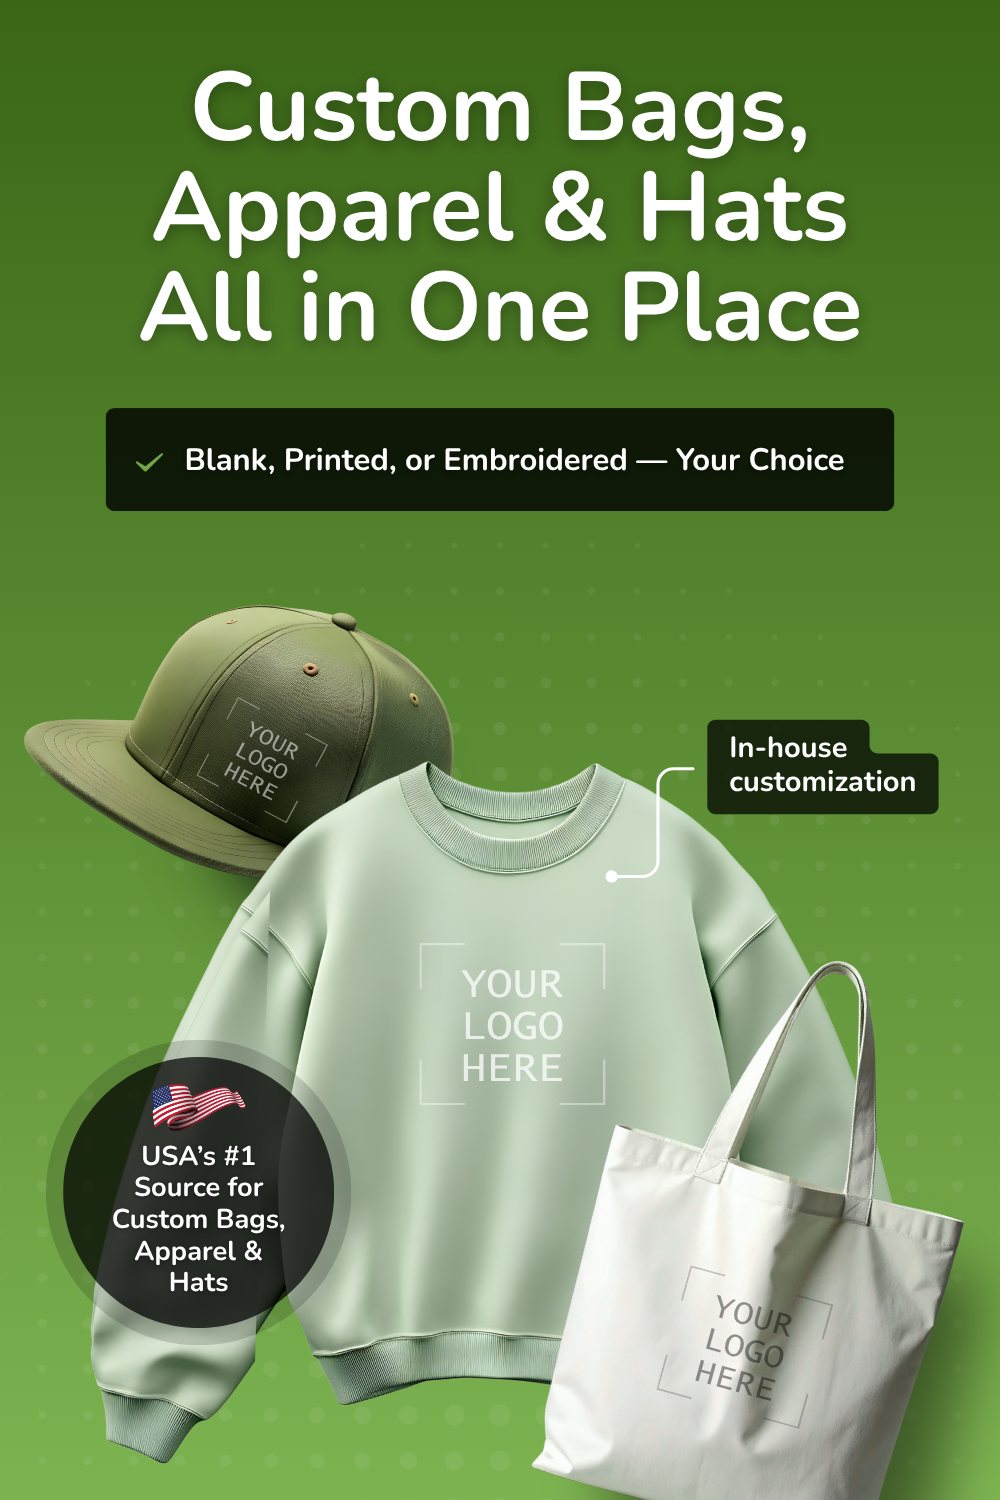
Whether you're shopping for blank bags, premium apparel, stylish hats, bulk quantities, or fully customized printing and embroidery, BagzDepot delivers fast, affordable, and high-quality solutions — trusted by 200,000+ customers nationwide.
Request a Custom Quote →Looking to take on a new creative hobby? Try making personalized DIY tote bags!
This fun arts and crafts project allows you to be more environmentally conscious, all while unleashing your creativity
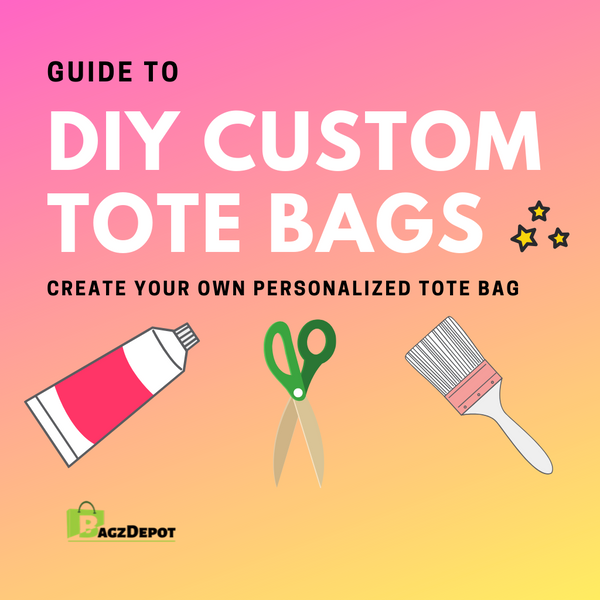
DIY Tote Bag Guide - Create Your Own Custom Tote Bags
Looking to take on a new creative hobby? Try making personalized DIY tote bags! This fun arts and crafts project allows you to be more environmentally conscious, all while unleashing your creativity.
Plain Canvas Tote Bags & Blank Cotton Tote Bags are Perfect for Your DIY Tote Bag Project
Our tote bags are made from the highest quality materials that are both sustainable and reusable, allowing you to cut back on environmentally damaging plastic that is harming the planet.
Blank tote bags are easy to personalize with accessories, paint, markers and more! Our best selling plain canvas tote bags are an ideal choice for DIY decorating because of their natural color and easy to customize material. Natural colored blank cotton tote bags are also an excellent choice.
Today, we are going to provide a step-by-step DIY guide for screen printing tote bags. With a little creativity and attention to detail, this process can be finished within an hour. Essentially, this involves the use of screen stencils and fabric markers, which allow you to create beautiful personalized tote bags.
Arts and crafts and DIY projects are a great way to enjoy your free time, so step away from the computer or television, set down your phone, and have some good old fashioned fun designing and decorating your brand new personalized tote bag!
Equipment
You don’t need much to create some fabulous custom tote bags! You simply need the following:
- A completed screen stencil

- A white or black tote bag (make sure it has been properly ironed)

- Fabric markers

- Screen printing ink

And lastly, you will need:
- A plastic knife
- A squeegee
- A piece of cardboard
- A plastic canvas
The Process
- Read the set-up instructions for your screen stencil. It is best to follow the specific guidelines of your own stencil design in order to achieve prime results.
- Insert the piece of cardboard into the tote bag. This will prevent the ink or fabric marker from bleeding onto the other side of the bag.
- Place the stencil on the tote bag in its intended section. We recommend using tape to hold the stencil in place.
- Load the ink into the squeegee using a popsicle stick or a plastic knife.
- Move the squeegee up and down, passing it over the stencil several times to ensure the ink is getting through. Be sure to only apply light pressure, in order to prevent the ink from passing to the other side.
- Check the design’s corners to make sure all the ink has passed through. If it is still blotchy, go over it once or twice more.
- Let the tote bag air dry for at least one hour. To speed up this process, you can use a blow dryer.
- Iron the image to ensure the ink has set.
- Voilà! You have your very own customized DIY tote bag!

Looking for the right DIY tote bags that match your arts and crafts needs? We offer a wide selection of options, from cotton bags and canvas tote bags to burlap tote bags.
Shop BagzDepot for the best affordable tote bags for DIY arts and crafts projects today.

Description
Promotional Bags Tips & Resources
-
")
How to Choose the Right Printing Method for Your Custom Bags (Screen Print vs DTF vs Embroidery)
Feb 20, 2026When ordering custom tote bags, backpacks, or promotional bags, one of the most important decisions
Description
-

Cotton Bags With Your Logo Printed: The Smart, Eco-Friendly Way to Promote Your Brand
Feb 04, 2026Looking for a practical promo item people actually keep and reuse? Cotton bags with logo printing a
Description
-

Conference Bags, Apparel & Hats With Your Logo: A Complete Branding Guide for Events
Jan 29, 2026Planning a conference, convention, or trade show? The right branded swag can turn attendees into wa
Description
- Read more articles