

10 WAYS TO DIY YOUR CANVAS TOTE BAG
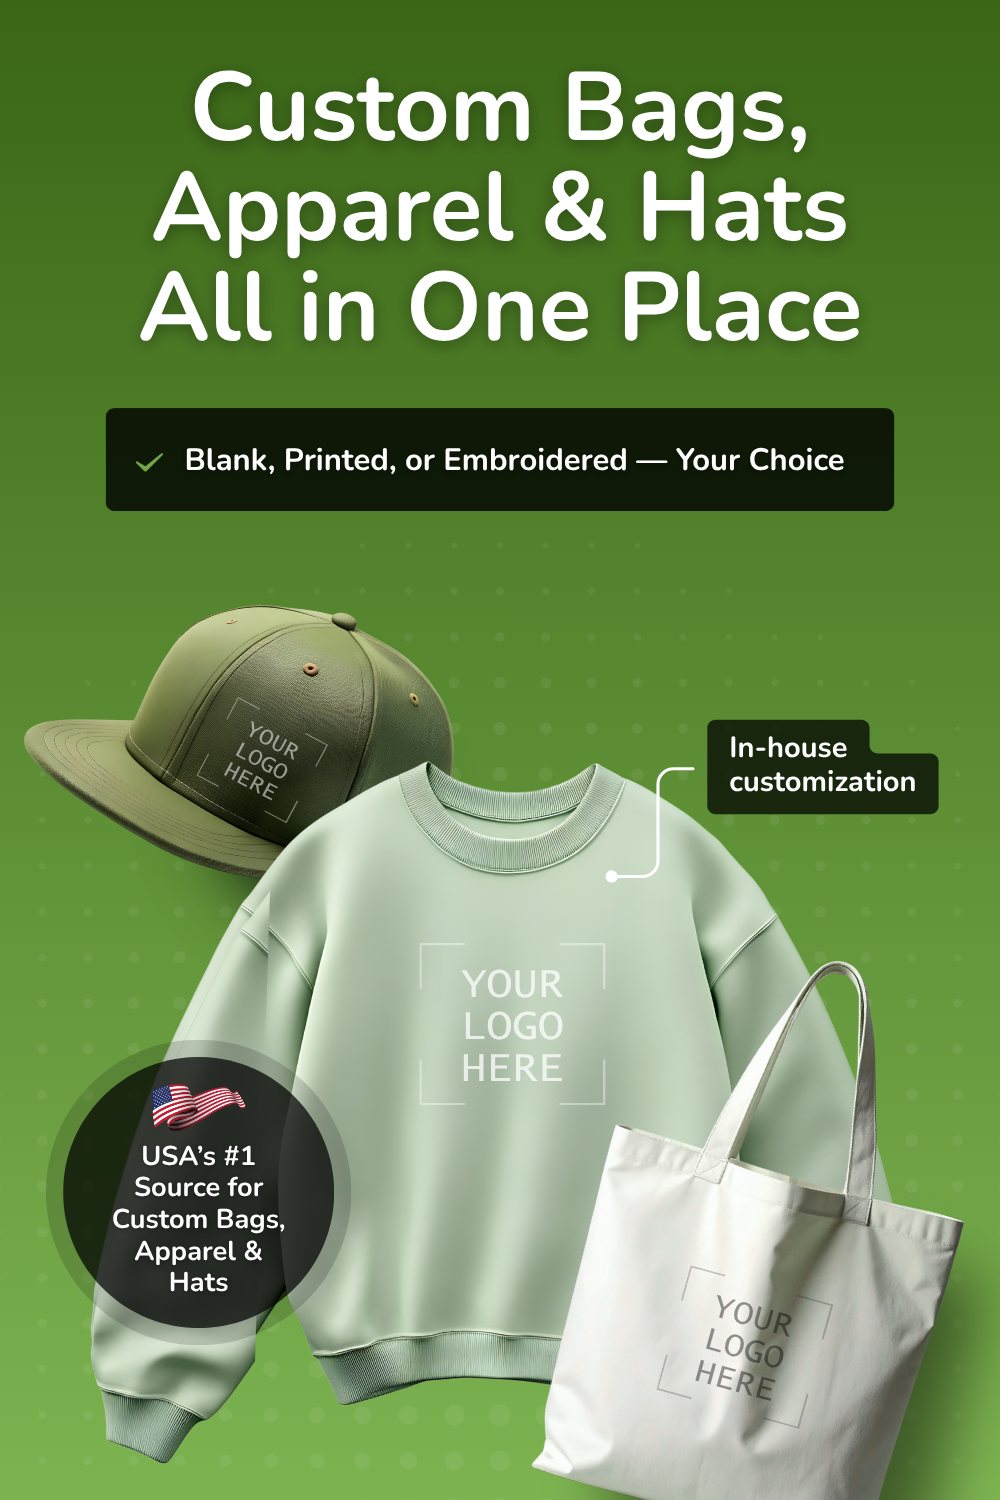
Whether you're shopping for blank bags, premium apparel, stylish hats, bulk quantities, or fully customized printing and embroidery, BagzDepot delivers fast, affordable, and high-quality solutions — trusted by 200,000+ customers nationwide.
Request a Custom Quote →One of the best things about reusable canvas tote bags is that they are a blank canvas for you to DIY your heart out. It’s so easy to make your tote bag completely your own, and you don’t have be Picasso to make it look like a masterpiece. There are endless ways to decorate your canvas shopping bags and BagzDepot has a bag for any event. DIY can be fun to do either by yourself or with your family, maybe even throw a DIY party. Here are our top 10 ways to DIY your plain canvas tote bags.
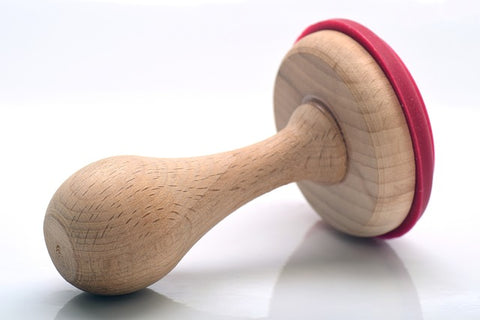
Embroider
Embroidering is one of the more popular choices to decorate tote bags. It’s simple and the end result is beautiful. There are many different ways you can embroider. You can do it by hand, with a sewing machine, with yarn or thread. It’s your choice how you’d like to personally embroider your tote bag. We think using yarn is great for beginners and it’s quick.
What you’ll need: yarn (colors of your choosing), embroidery hoop, needles, scissors, stencil, and a pencil.
You can start by stenciling the word or design you want directly onto the tote bag. There are many different stencils to choose from, or you can make your own using Photoshop and printing it out. Break out your embroidery hoop, put in the stenciled material and tighten it. Cut at least a foot of yarn and thread your needle.
Start at the top left corner of your design or word and come up from underneath. Pull your yarn all the way through until you hit the knot and then thread through the opposite side you came from to continue sewing. We found this great tutorial to help you get started.
Iron On
This is clean, simple way to create personalized canvas tote bags. Pick out some great designs or even your own logo if you own a business. Purchase some wholesale canvas tote bags in bulk and get to ironing.
What you’ll need: iron, print out designs (with inkjet printer), iron-transfer paper
Create or find a design online to print out using a jet ink printer. You can create your own design in Photoshop or purchase some online. Make sure you flip the design before you print it. Your iron-transfer paper should have instructions on how to print out your design, so read them thoroughly. Heat your iron to the highest setting and iron your tote bag, making sure it’s as smooth as possible. Cut out your design and place the design face down onto the tote bag. Press down hard with the iron for 2-3 minutes to transfer and let it cool off before peeling off the paper. Voila! You now have a personalized tote bag that only took a few minutes to create.
Bleach Spot It
This look is perfect for canvas shoulder bags in darker or solid colors. It’s also quick and easy and doesn’t take a creative hand to really make it look professional. Your canvas shoulder bag will have a cool, bohemian vibe that’ll be complimented everywhere you go.
What you’ll need: concentrated bleach, an angled paint brush, small bucket, drop cloths or tarps.
Once you have everything laid out (on top of the tarp or drop cloth), pour your bleach into the bucket and grab your brush. The key here is to avoid getting drip lines. You want the clean, messy look with the bleach spots. When you dip your brush into the bleach make sure it’s not soaked, but it has enough bleach to drip onto the fabric when holding it. This is where the angled brush comes in handy, let it drip right off the end of the angle. Once you have the hang of it, get to work. The bleach spots appear pretty instantly so it’s easy to see where you want to go next. Once you’re done throw the tote by itself into the washer, cold rinse cycle first and then a regular cycle with laundry detergent.
Our inspo is from a great site called A Beautiful Mess.
Add Lining
Adding lining to the inside of your tote bag is a major upgrade and makes your bag totally unique. The least complicated way is to do a drop in liner.
What you’ll need: scissors, ruler or measuring tape, fabric of your choosing, iron, sewing machine or sewing kit.

Start by measuring the pieces you’ll need, allowing for a ½ seam allowance on all sides. Line your pieces together and sew along 3 sides. Press the raw ½ inch edge down with an iron. Insert the lining into the tote bag and align the top edges, pin and top stitch. This is a very rough overview of what exactly it entails to create a drop in lining to your tote bag. If you're ready to dive in, here is a great tutorial for adding lining to your tote bag with step by step instructions.
Stamp It
This one is easy and fun. It’s not too messy and it’s something that you include kids if you want.
What you’ll need: fabric paint, stamps, foam brush.
Use a foam brush to paint the back of the stamp, this keeps it from dripping. Carefully place the stamps where you’d like them on the bag. Let the bag dry before moving it.
Dip Dye
This is a cleaner take on tie dying. It has similar results but you have more control over your design. Make sure to choose some fun colors!
What you’ll need: gloves, fabric dye, bucket.

The first step is to create your dye bath according to the directions on your fabric dye box. Every company differs slightly so read the directions carefully. Once that’s ready, dip one end of your bag in the dye bath. The longer it stays in the bath, the darker the color is going to be so that will determine the time you leave the end in the bath. To do two colors rinse the end of the bag you’ve already dyed and dip the other end into the next color you want to use. When you’re finished machine wash your bag. For some great inspiration here’s a fun tutorial to help you out.
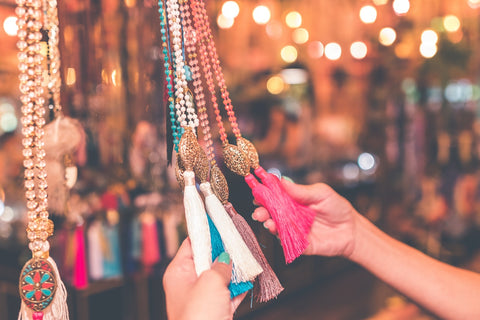
Be-jewel
Rhinestones are always a fun way to jazz something up. People love to bedazzle their things and the same can go for tote bags.
What you’ll need: assortment of rhinestones, fabric glue.

This is a really easy thing to do with your tote bag. All you have to do is throw some glue on the back of each rhinestone you want to use. Place each stone carefully in the design you’d like to make. Let the stones dry before moving the bag at all.
Fabric Shapes
This is such a simple and easy way to change up your tote bag look. Add pops of fun colors and designs. Best of all there’s no sewing involved. This is something that’s so easy to do you’ll wonder how you haven’t thought of it before.
What you’ll need: fabric (an assortment of colors and designs), fabric glue, scissors, ruler, pen.

Draw out your design, you might want squares, triangles, hexagons or so forth. Use the ruler to make each design the same size. Cut out as many designs as you’d like. The number of designs depends on how much you want to cover your tote bag. Use your fabric glue and stick each design on where you’d like it. If you’re not a fan of glue you can also choose to sew each on as well. Whatever you’re more comfortable with!
Stencil

Stenciling can be done in a variety of ways. A great way to do it is with paint. It’s simple and look professional.
What you’ll need: stencil, paint, cardboard.
Stick the piece of cardboard inside the tote to keep the paint from bleeding through. Hold the stencil firmly down and dab the paint brush up and down. Remove the stencil and let the paint dry. Wait to remove the cardboard until it’s dry.
Tassels
Just adding something fun like tassels to your tote bag can really brighten it up. You could either purchase tassels at a craft store or make your own.
What you’ll need: Thread, pencil, scissors, glue
If you want to make your own click here for a great tutorial on tassels. If you purchase your own tassels the rest is easy. One way to decorate your tote bag is to line the bottom. If you want you can measure out exactly how far apart you want each tassel and simply glue it on. If you’re handy with a sewing kit you can also sew each one on.
Description
Promotional Bags Tips & Resources
-

Bridesmaid Tote Bags Bulk Custom: DIY Wedding Welcome Bags on a Budget
Apr 16, 2026Want to add a personal, heartfelt touch to your wedding without overspending? DIY tote bags might ju
Description
-

Fundraiser Tote Bags Bulk: Custom School & Teacher Appreciation Bags Guide
Apr 16, 2026Looking for a simple, effective way to raise funds or show appreciation at school? Tote bags might b
Description
-

Hospital Promotional Tote Bags & Corporate Branded Tote Bags Bulk Guide
Apr 16, 2026Looking for a simple yet powerful way to promote your brand and create a lasting impression? Tote ba
Description
- Read more articles